Schedule Emails
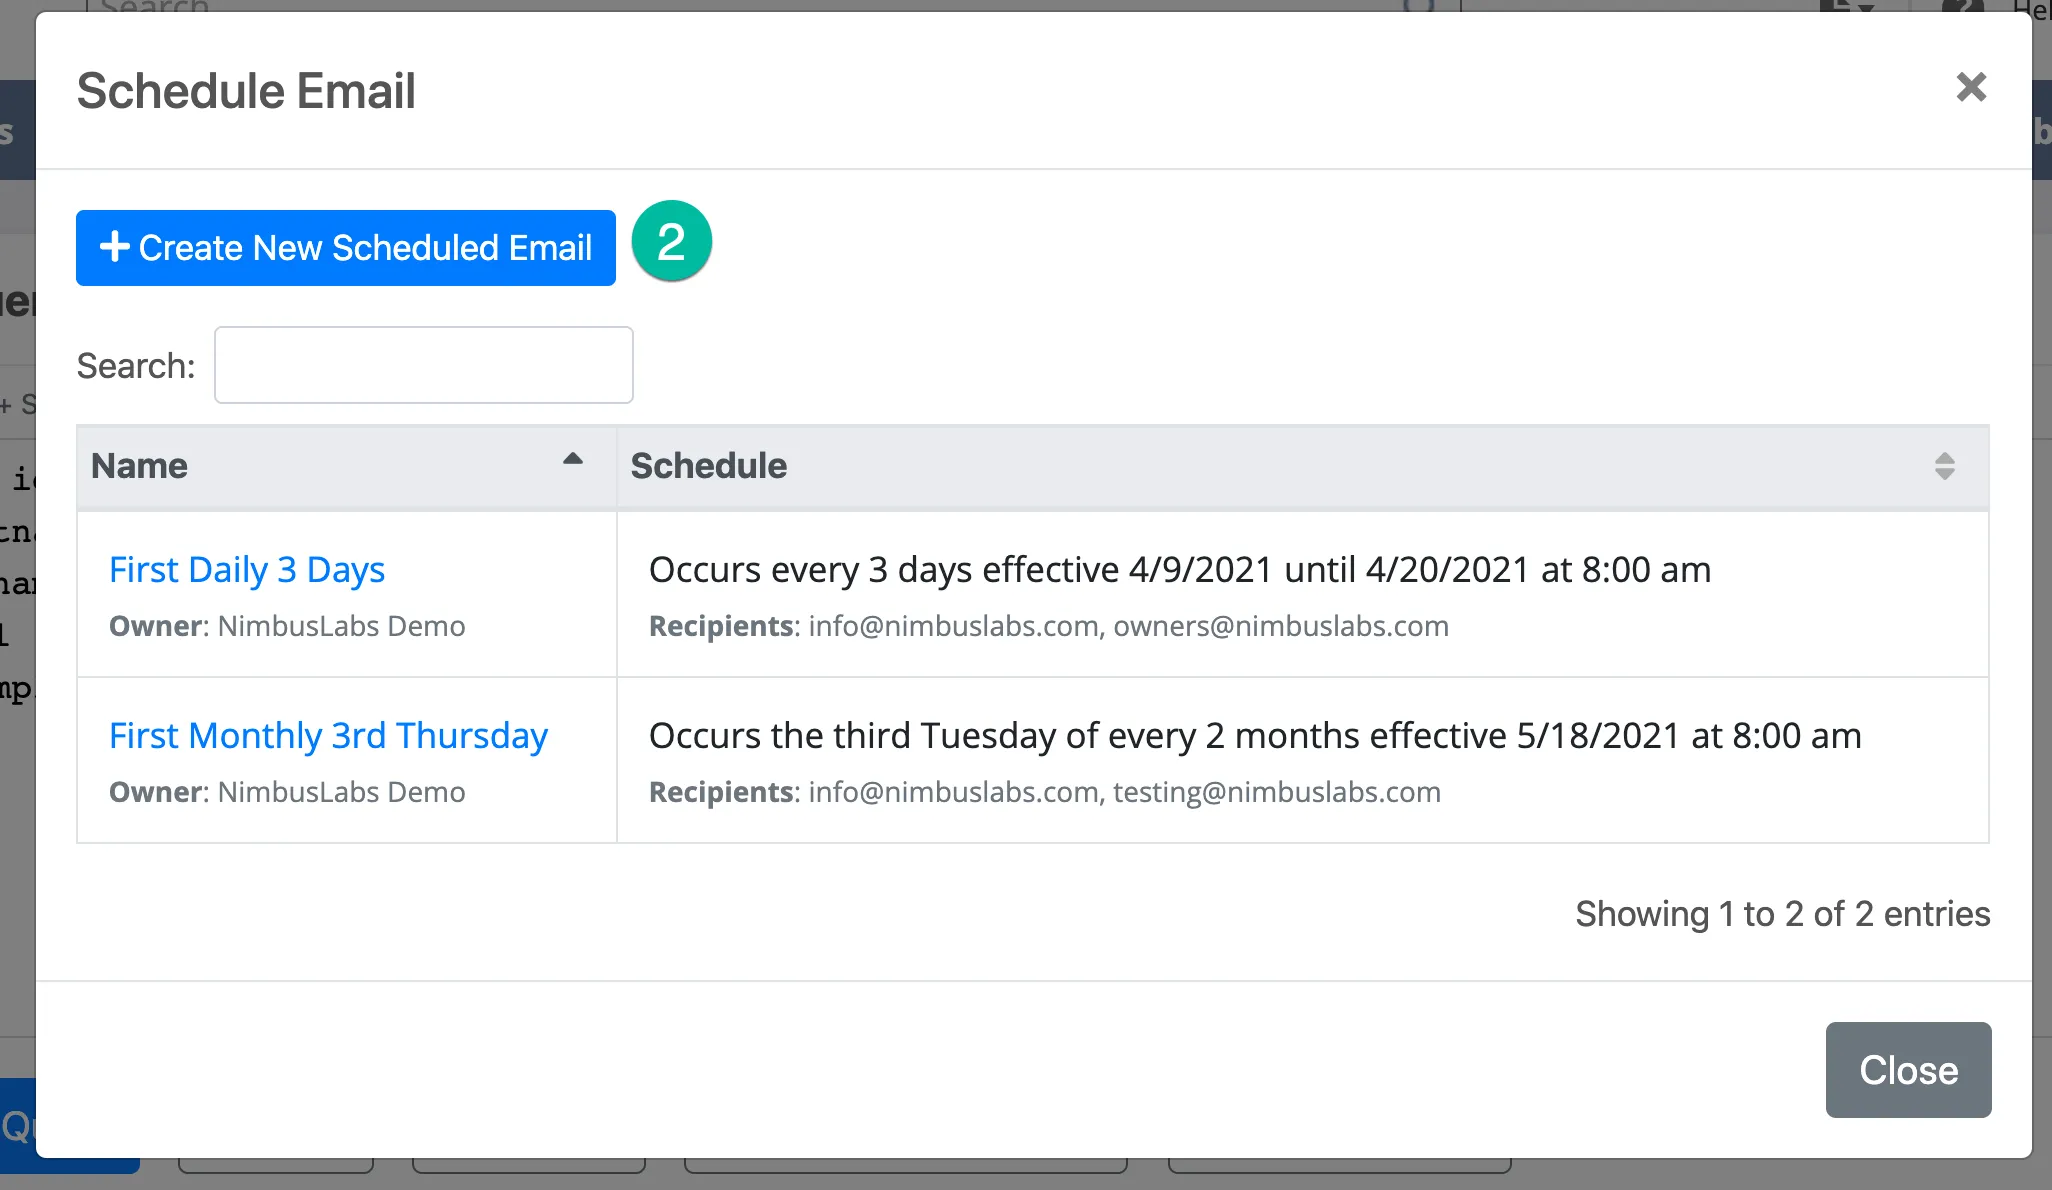
NimbusQL allows you to schedule query results to be emailed automatically on a daily, weekly, or monthly cadence.
Setting Up a Scheduled Email
Section titled “Setting Up a Scheduled Email”Step 1: Open Schedule Options
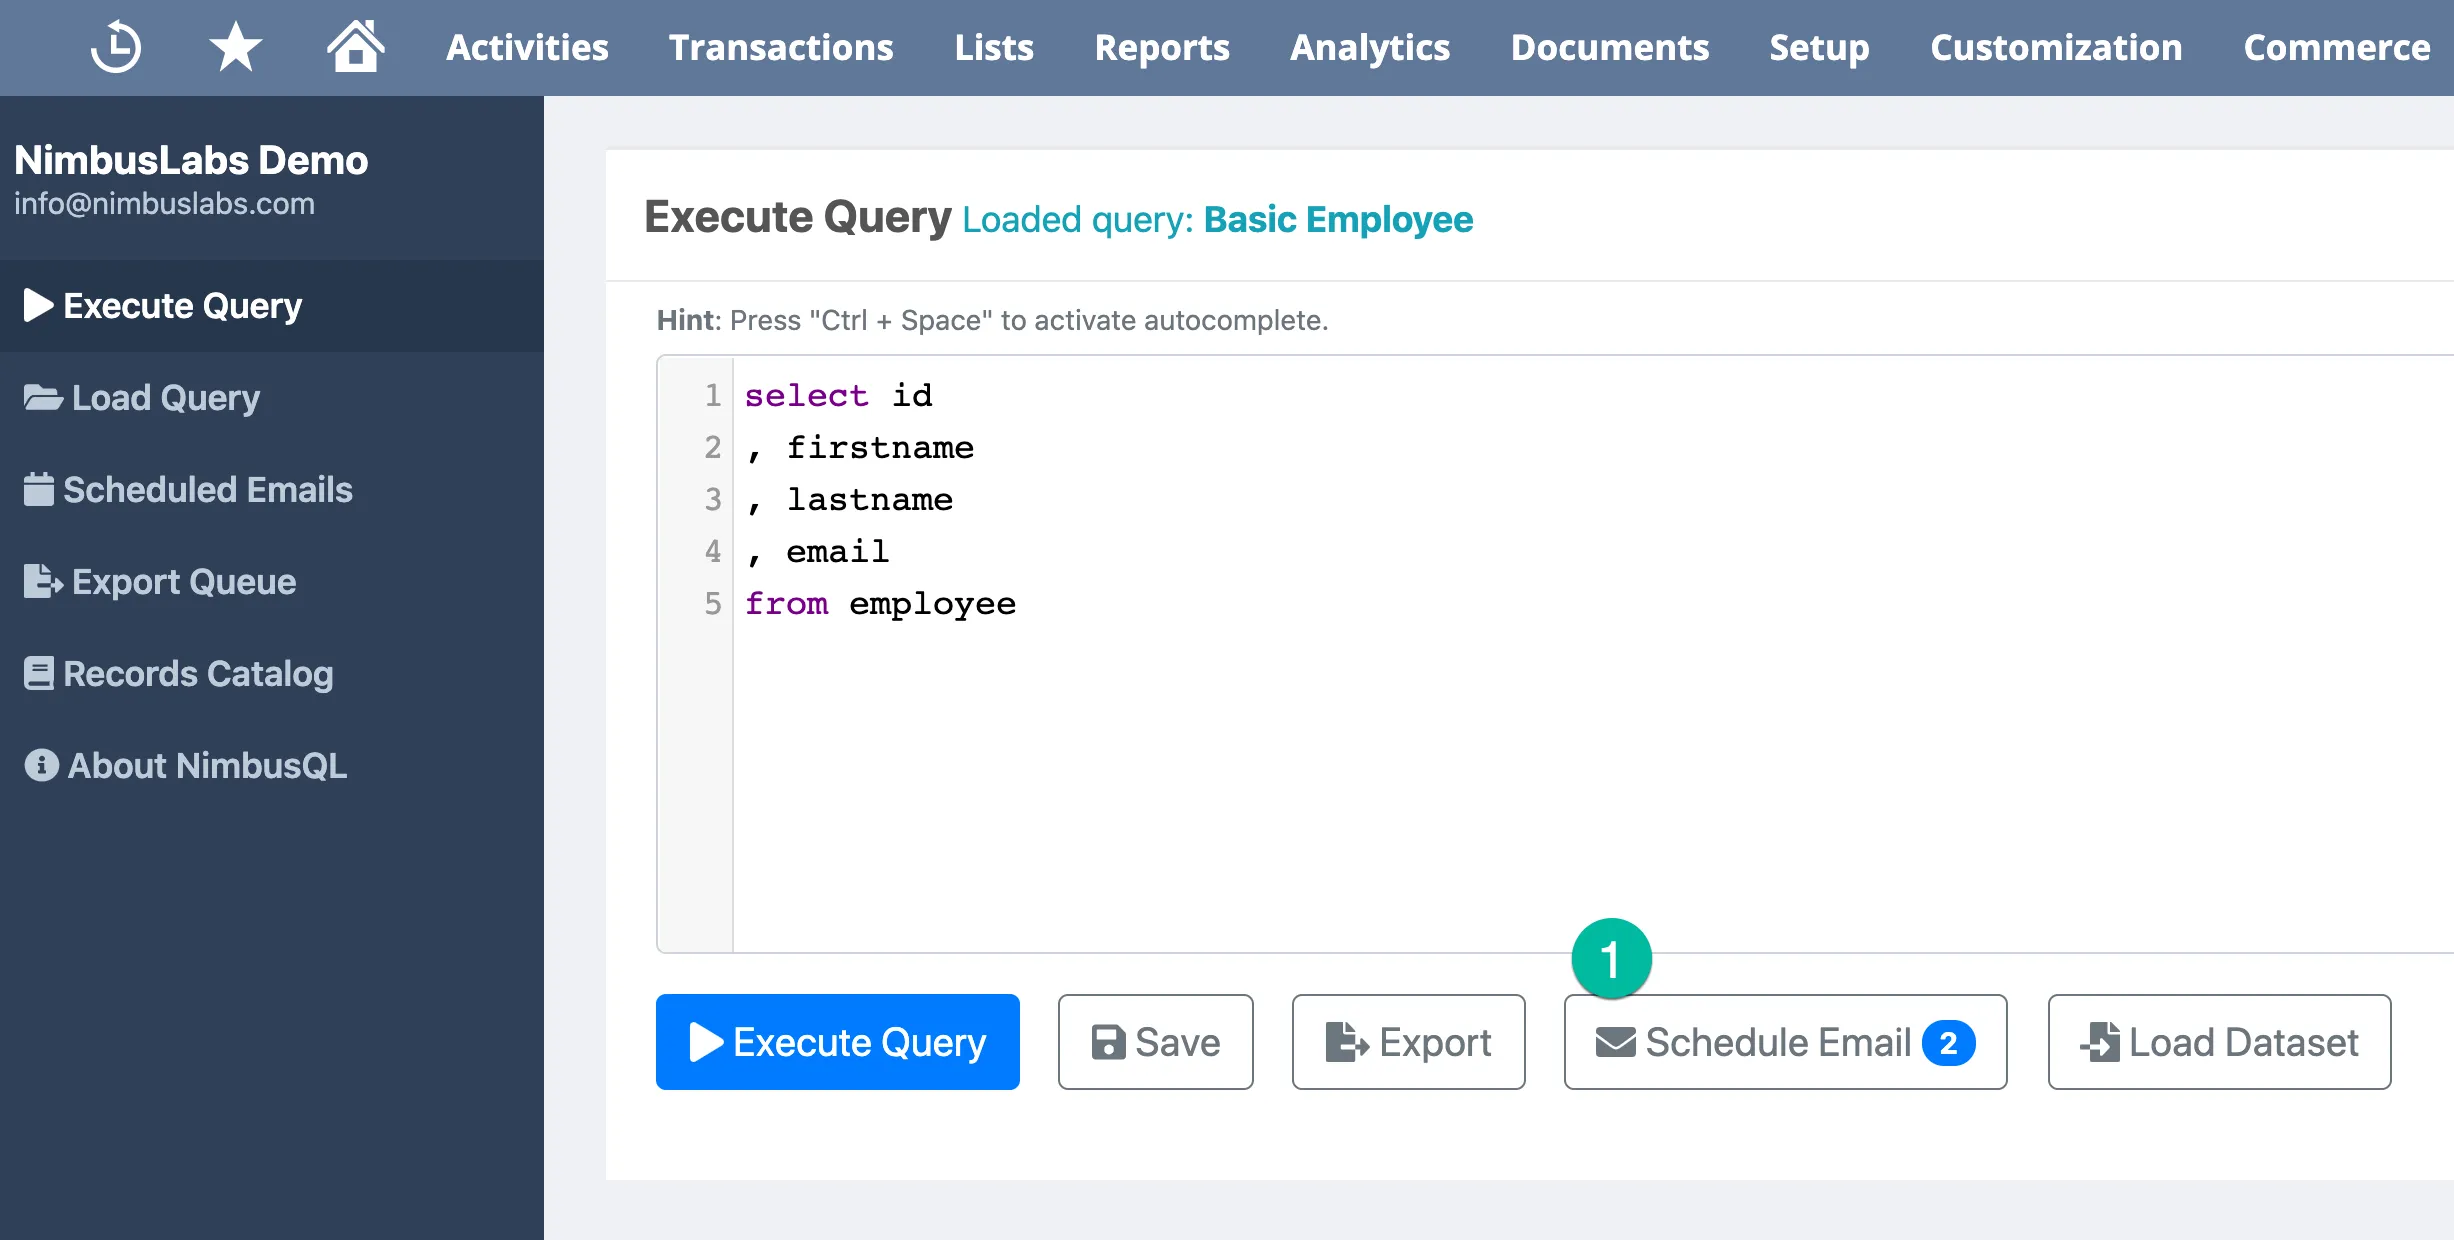
Section titled “Step 1: Open Schedule Options”From the Write Query screen, click the Schedule button.
Step 2: Configure the Schedule
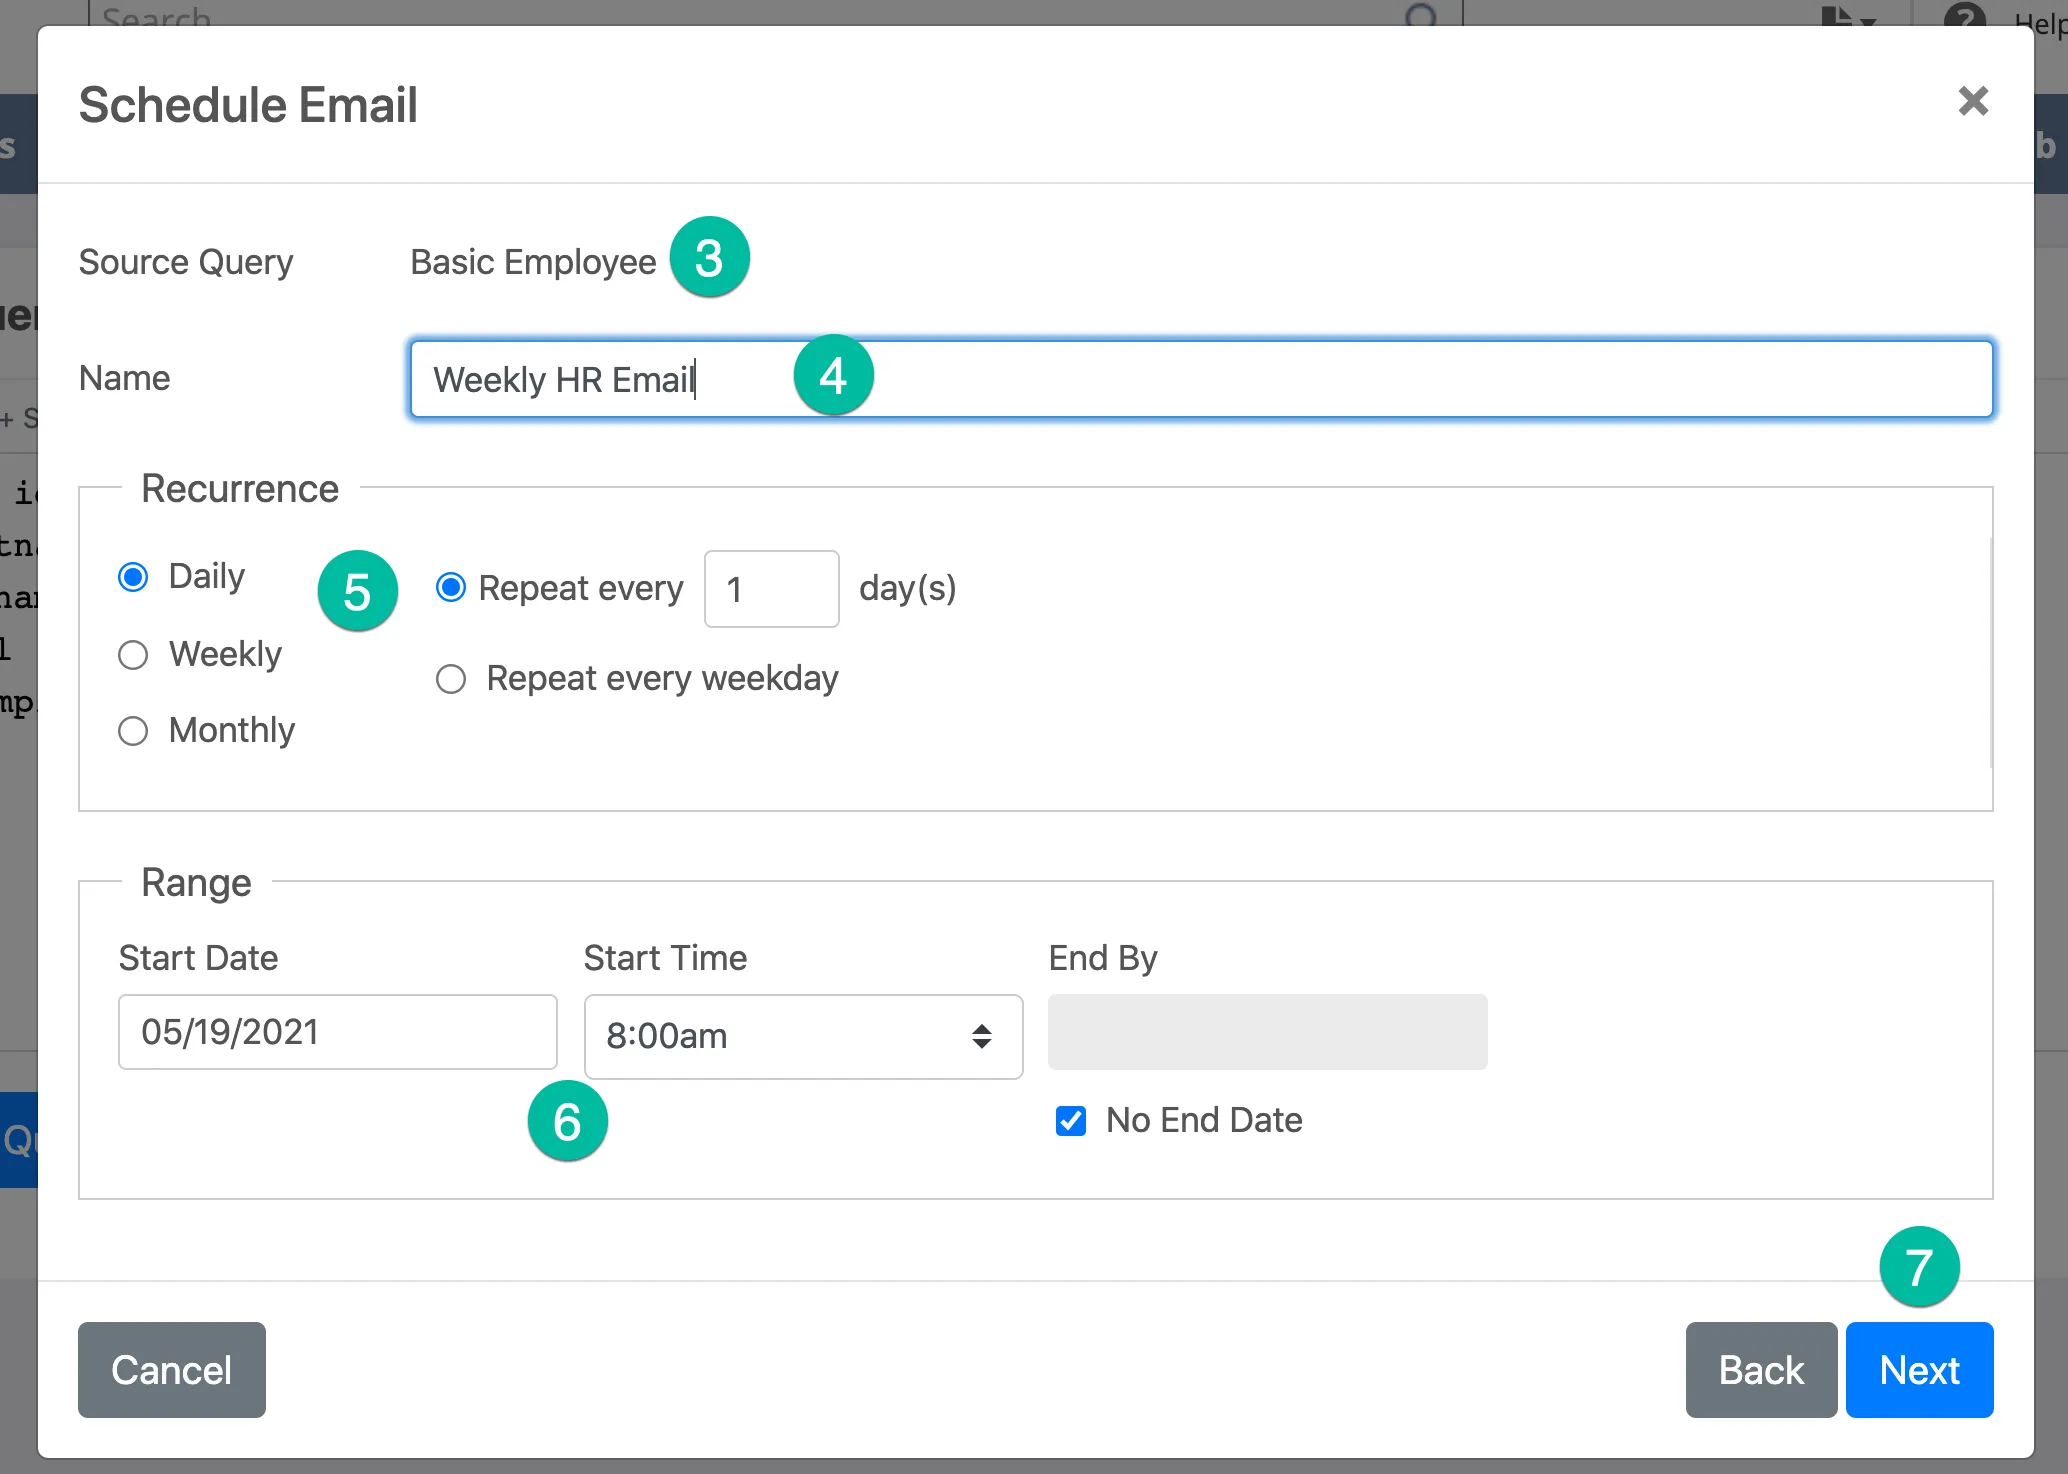
Section titled “Step 2: Configure the Schedule”Set the frequency for your scheduled email:
- Daily — sends every day at the specified time
- Weekly — sends on the selected day each week
- Monthly — sends on the selected date each month
Step 3: Add Recipients
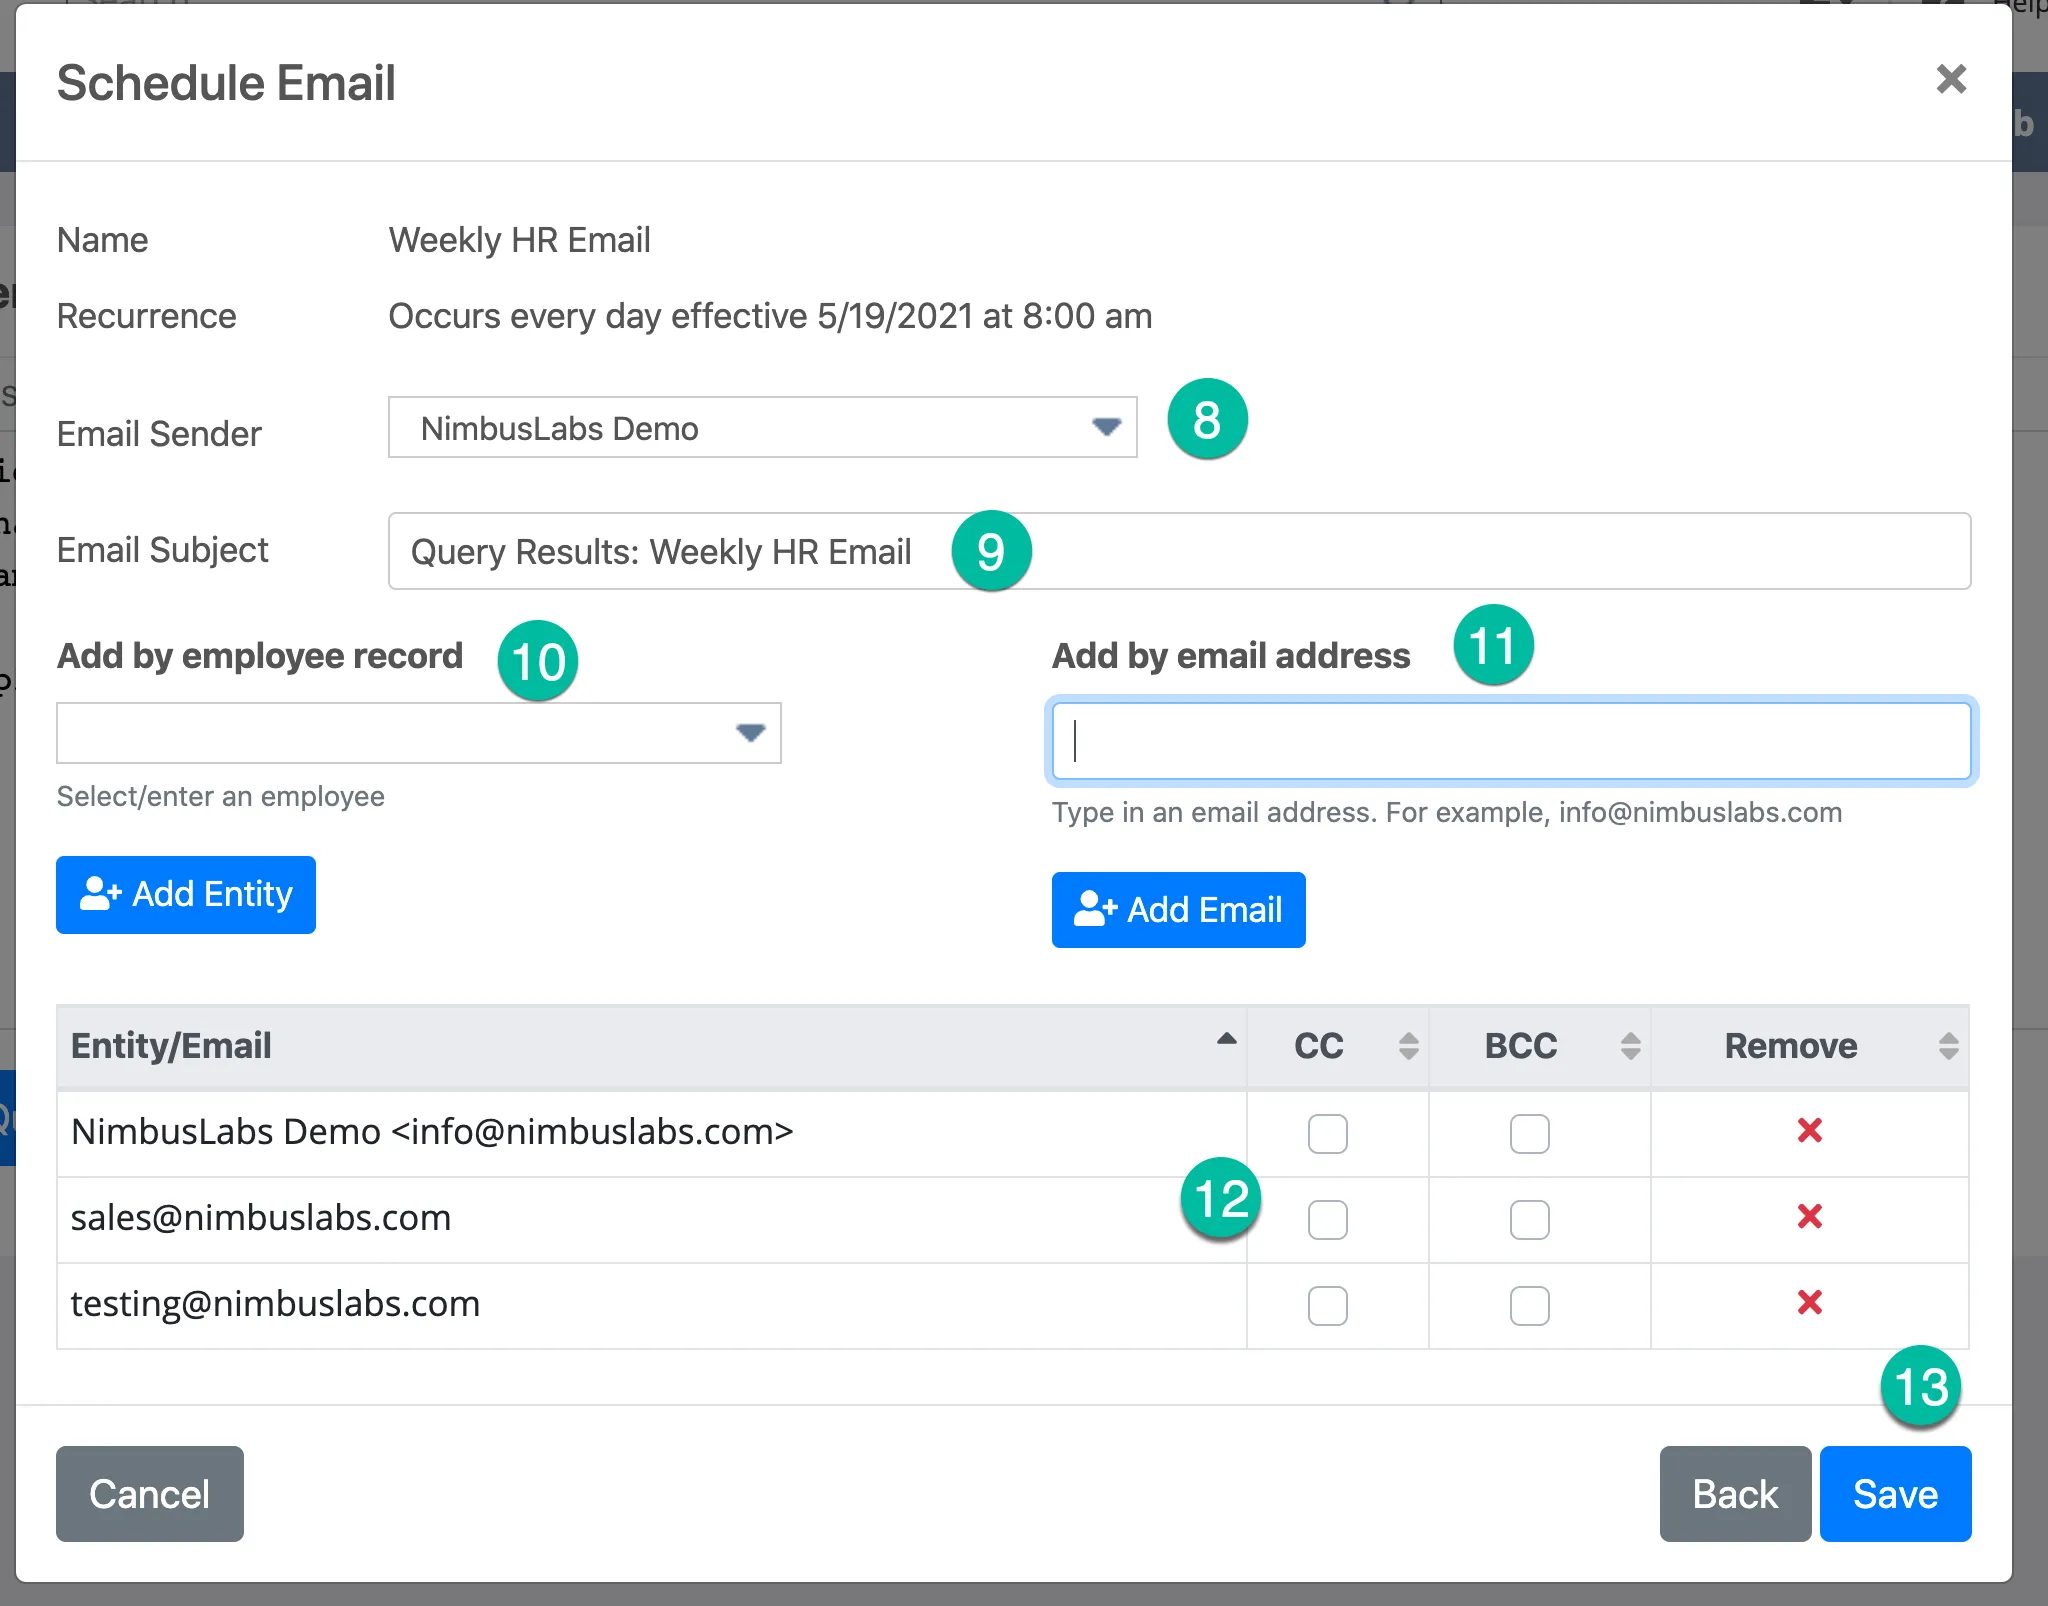
Section titled “Step 3: Add Recipients”Enter the email addresses of the recipients. You can send to any employee or external email address.
Step 4: Configure Email Options
Section titled “Step 4: Configure Email Options”Set the email subject and any additional options for the scheduled report.
Step 5: Review and Save
Section titled “Step 5: Review and Save”Review your schedule settings and click Save to activate the scheduled email.
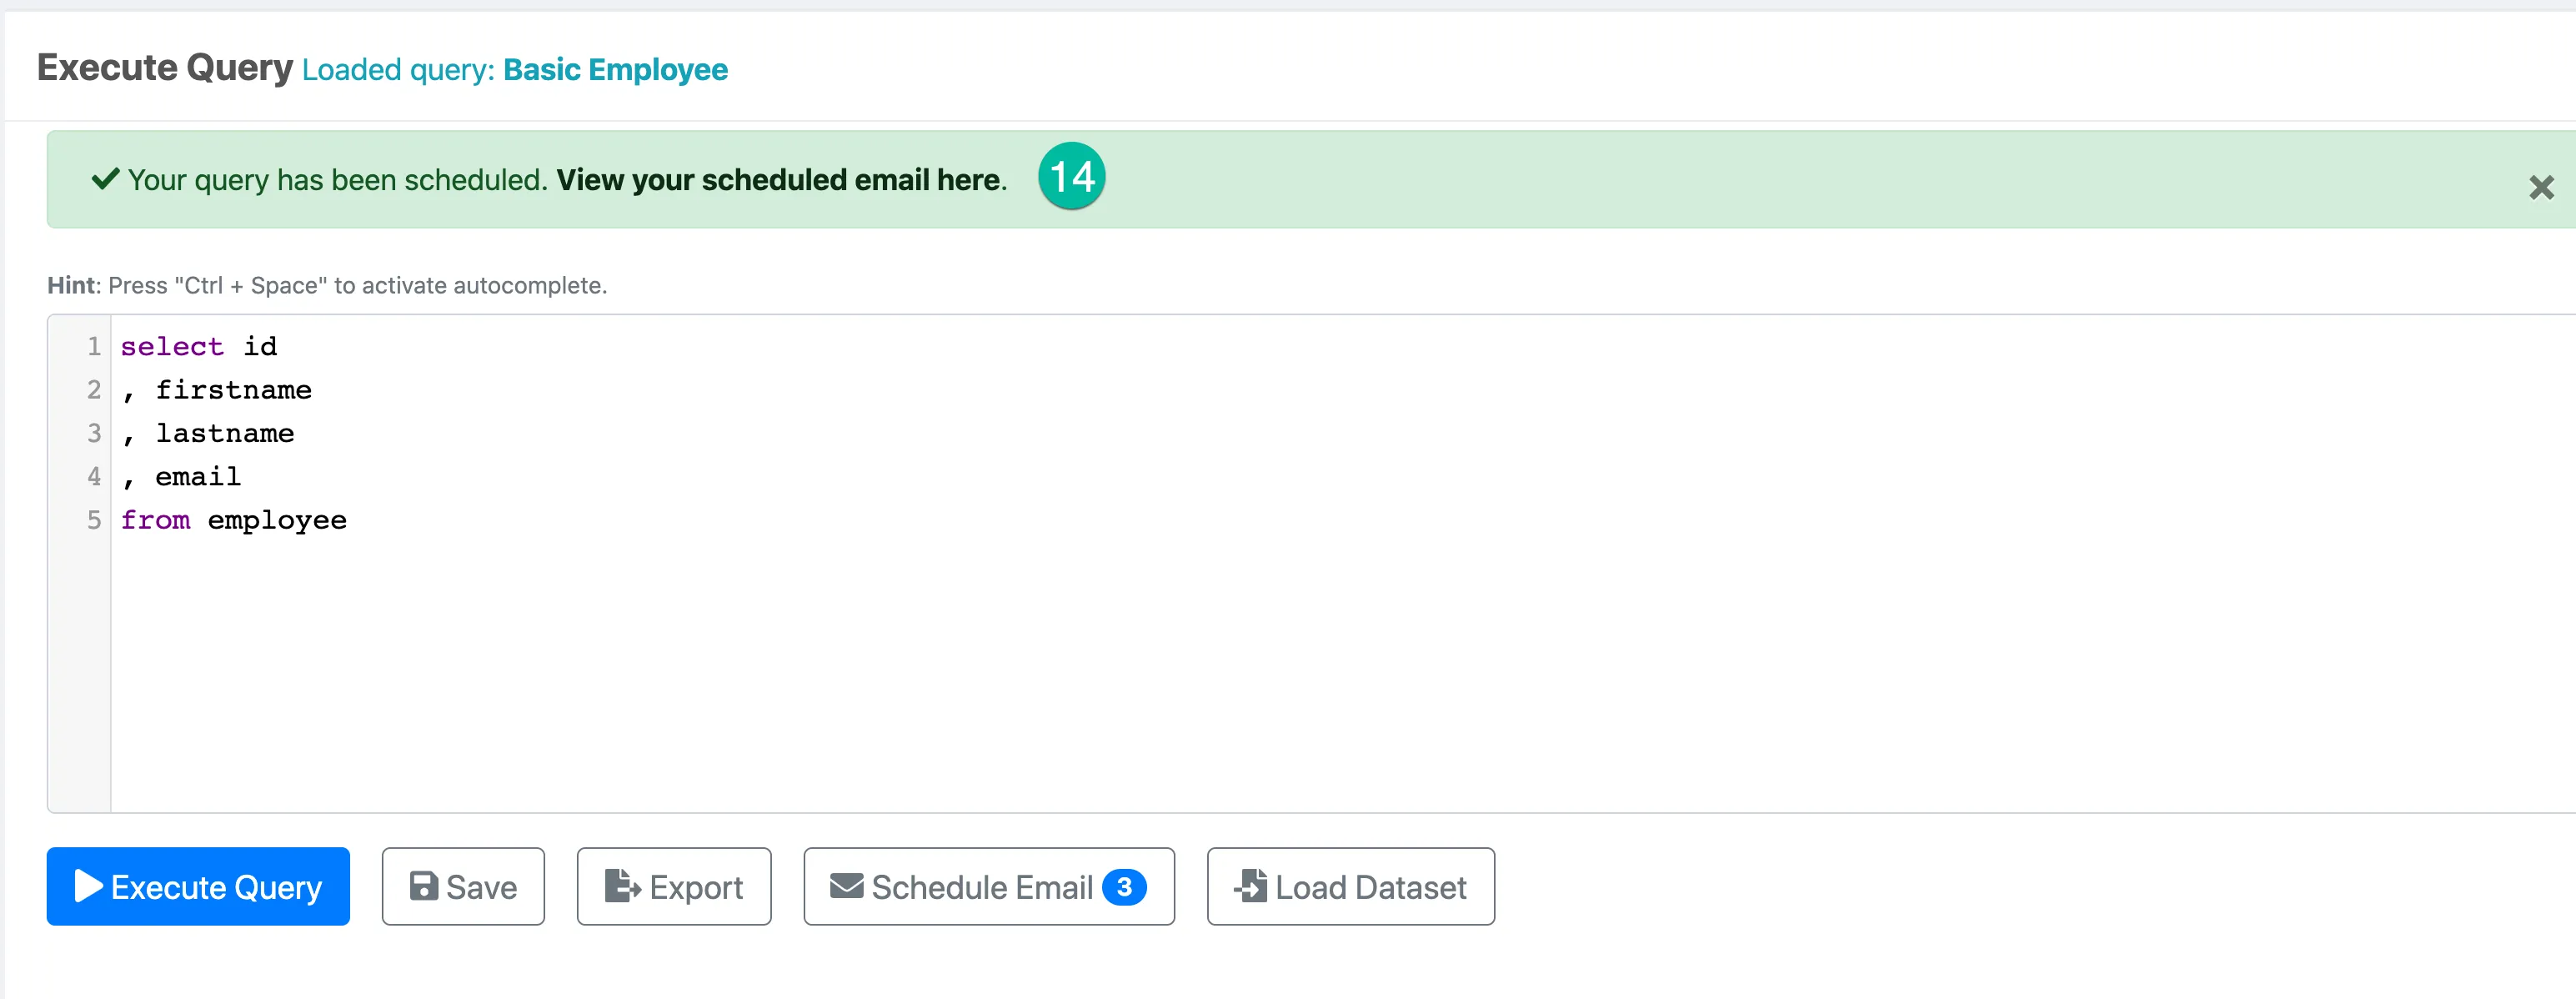
Step 6: Confirm
Section titled “Step 6: Confirm”Your scheduled email is now active and will send automatically on the configured schedule.
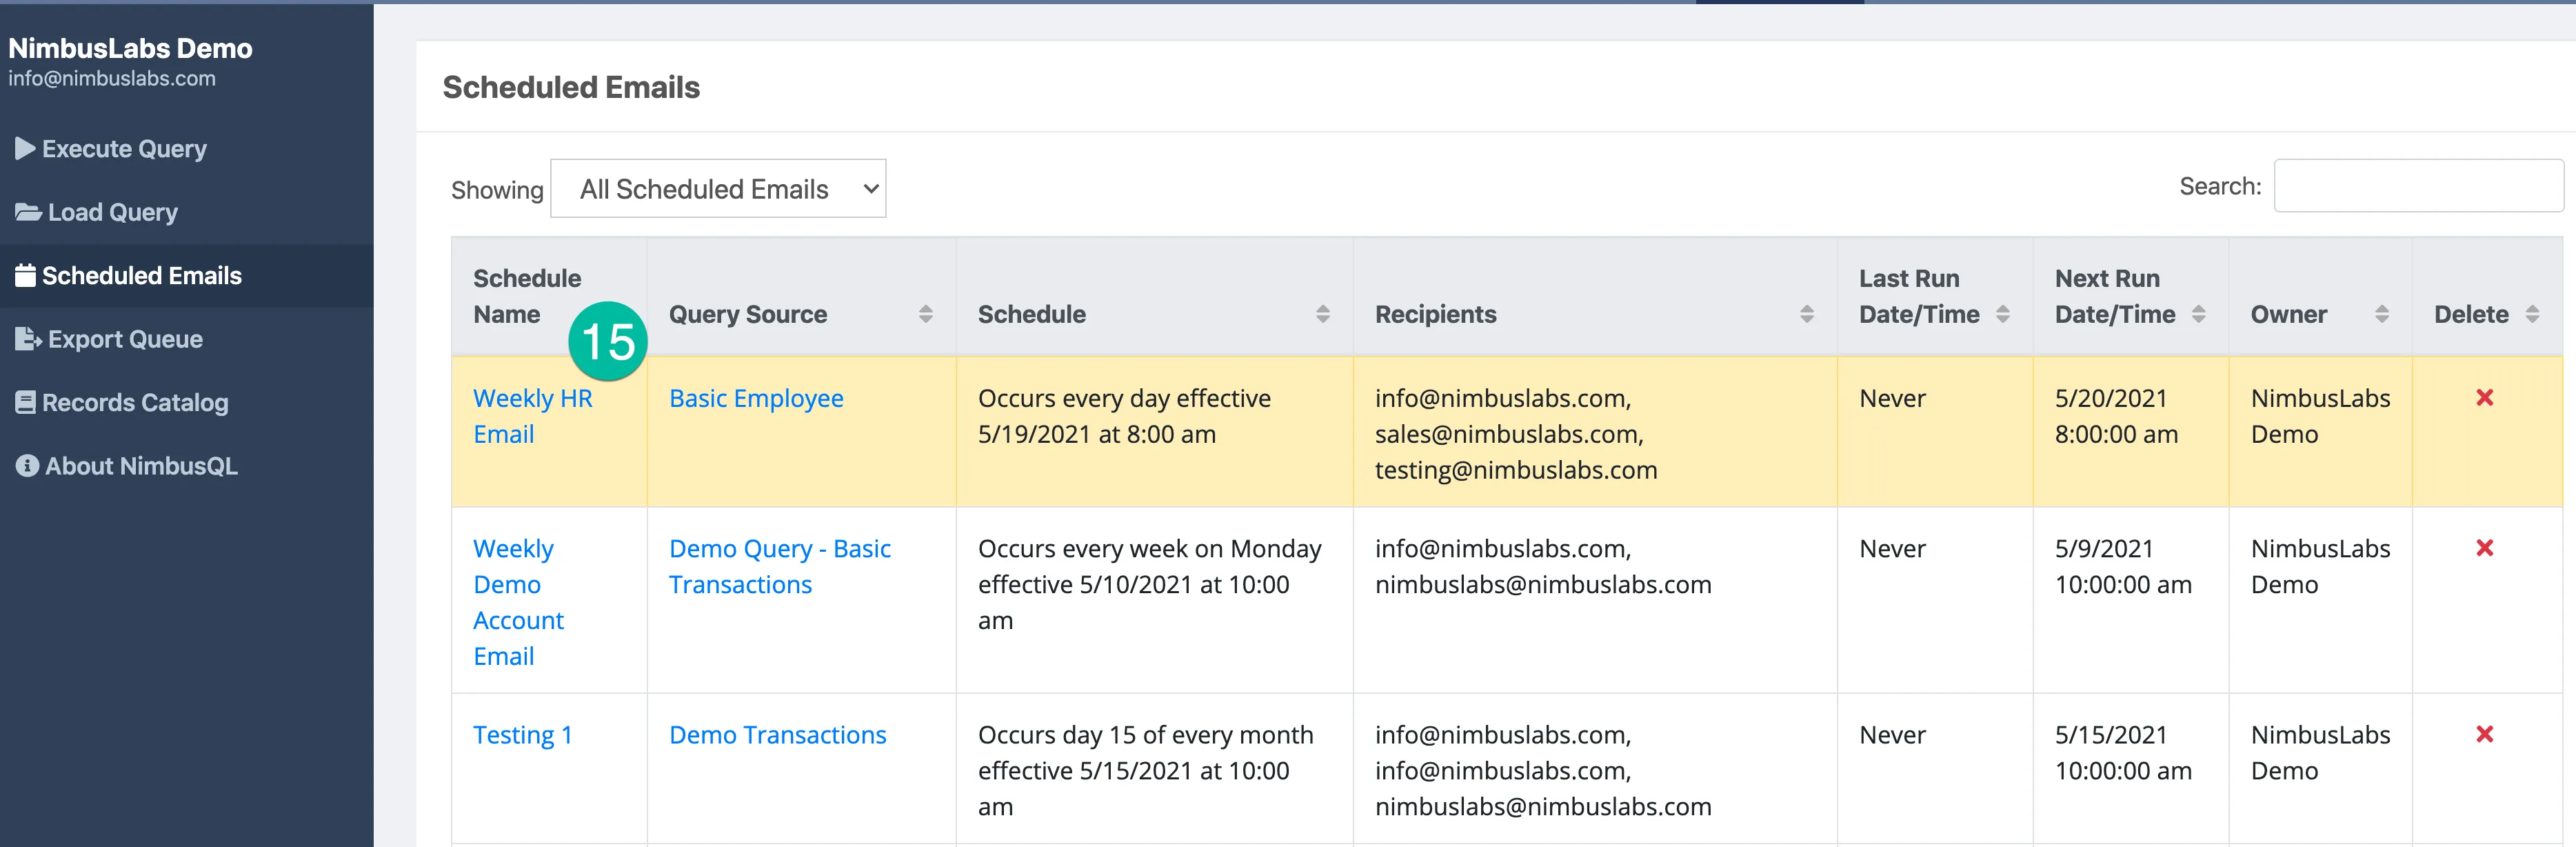
Managing Scheduled Emails
Section titled “Managing Scheduled Emails”- View all active scheduled emails from the Schedule screen
- Edit or delete schedules at any time
- Scheduled emails run automatically without any manual intervention