Bundle Installation
Follow these steps to install NimbusQL in your NetSuite environment.
Step 1: Access Bundle Installation
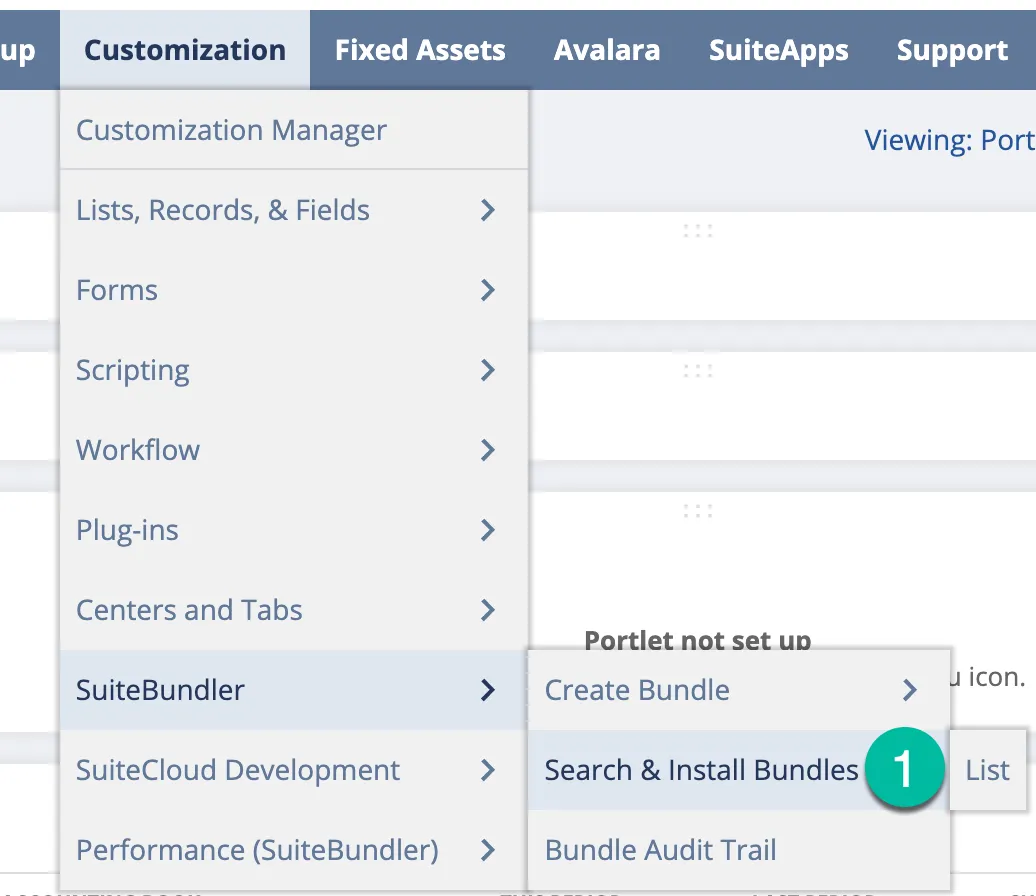
Section titled “Step 1: Access Bundle Installation”Log into NetSuite and navigate to Customization > SuiteBundler > Search & Install Bundles.
Step 2: Search for NimbusQL
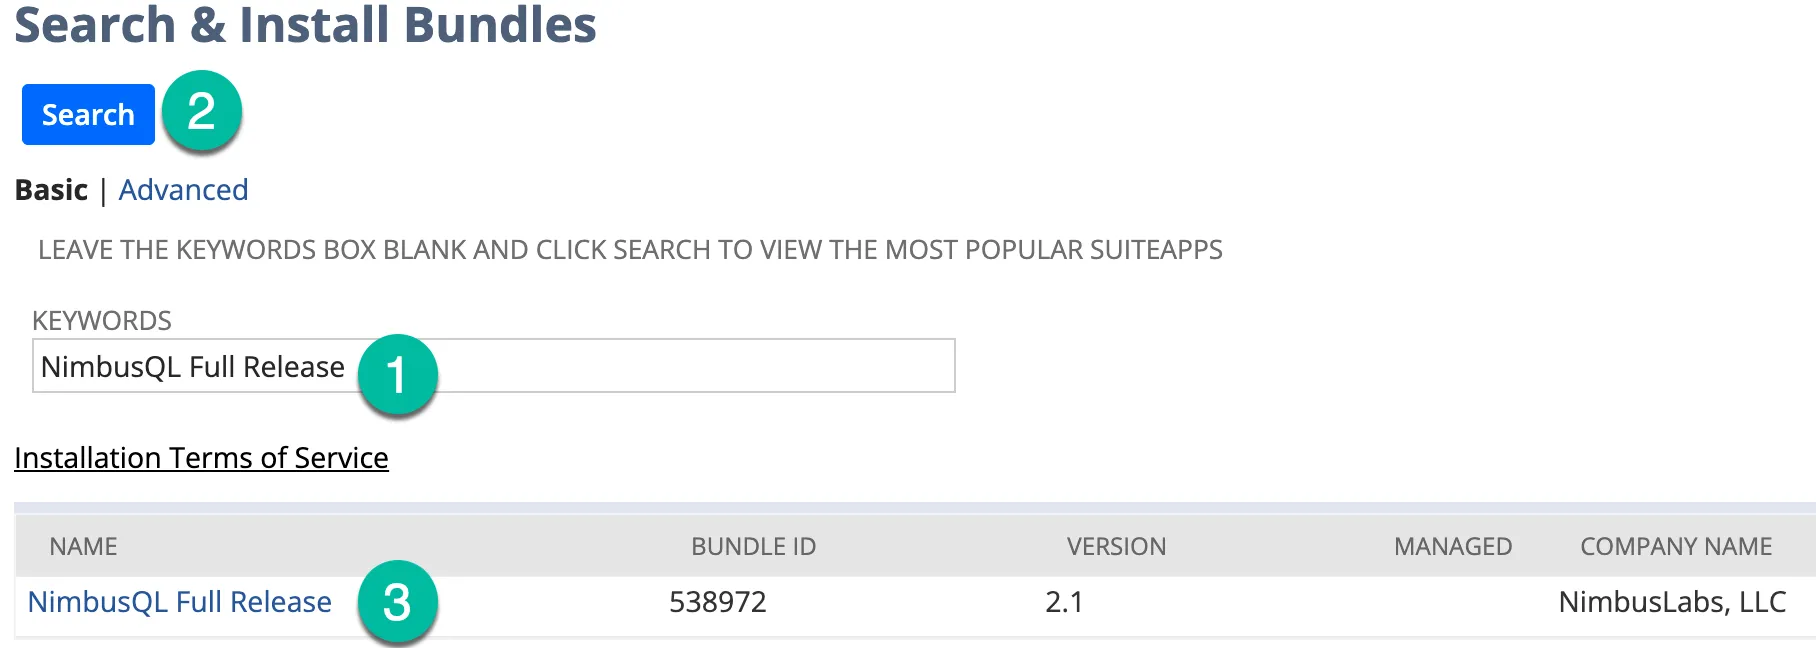
Section titled “Step 2: Search for NimbusQL”In the search field, search for NimbusQL or use Bundle ID 424793.
Step 3: Select the Bundle
Section titled “Step 3: Select the Bundle”Click on NimbusQL in the search results to open the bundle details page.
Step 4: Preview the Bundle
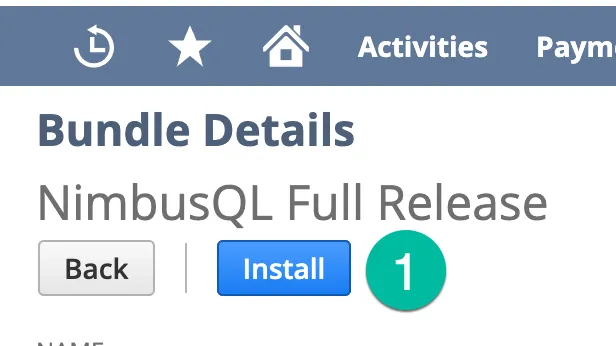
Section titled “Step 4: Preview the Bundle”Click Install to begin the installation process. You will see a preview of the bundle components.
Step 5: Install the Bundle
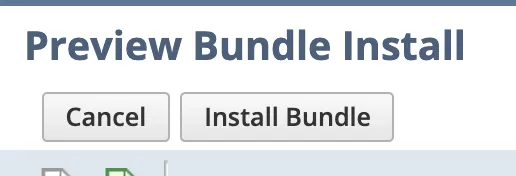
Section titled “Step 5: Install the Bundle”Review the bundle details and click Install Bundle to proceed.
Step 6: Confirm Installation
Section titled “Step 6: Confirm Installation”Confirm the installation when prompted.
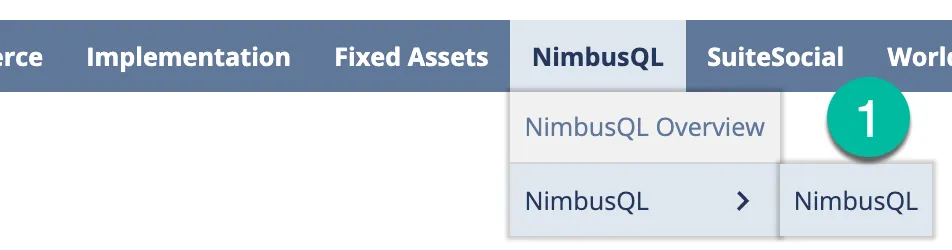
Step 7: Access NimbusQL
Section titled “Step 7: Access NimbusQL”Once installed, NimbusQL will appear in your NetSuite navigation menu. Navigate to NimbusQL to begin using the application.